What are the steps involved in development application submissions?
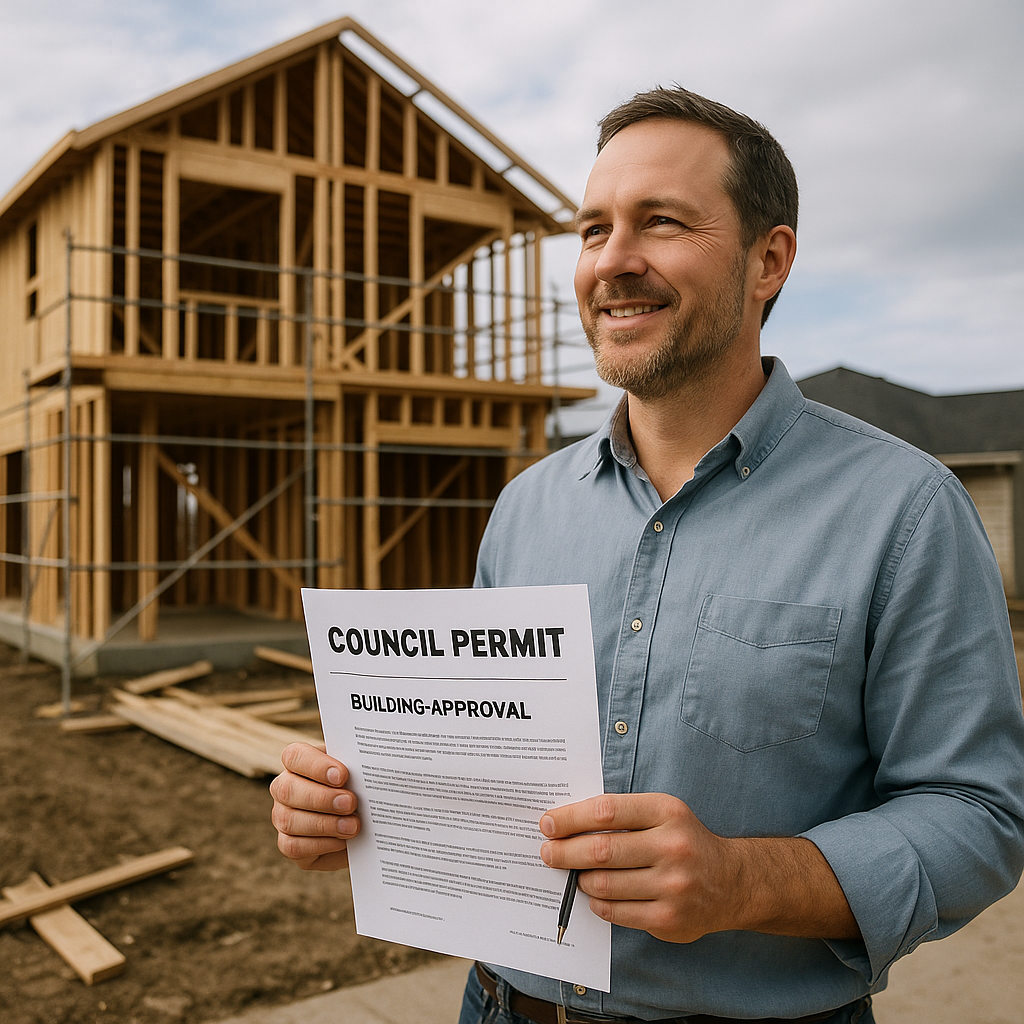
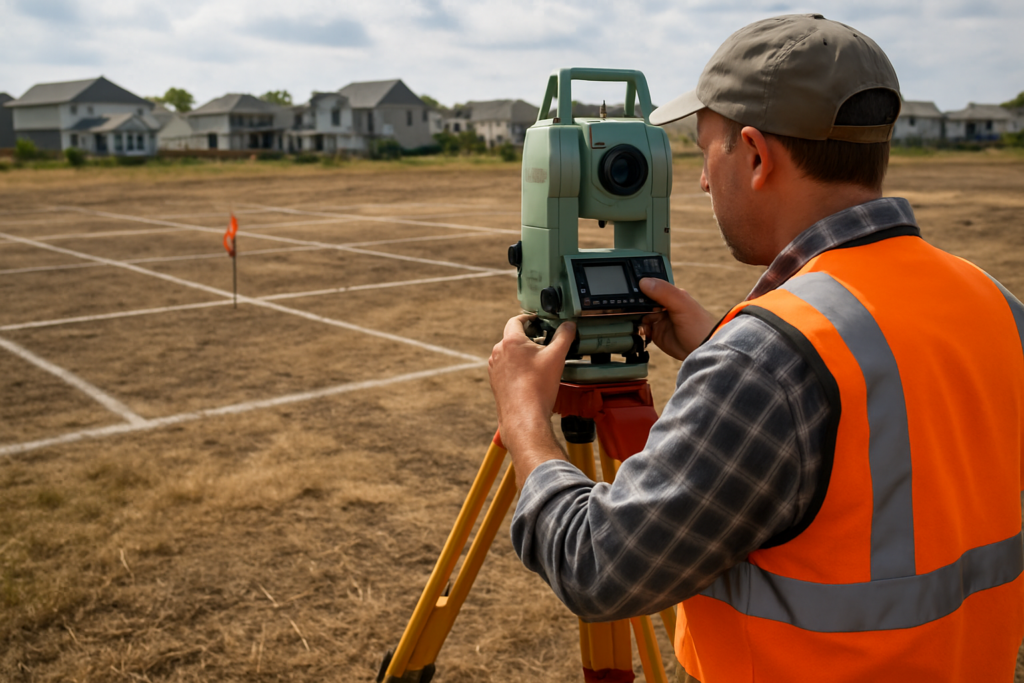
Look, I’ve been through the development application process more times than I can count. And let me tell you… it’s not exactly a walk in the park. But here’s the thing – if you know what you’re walking into, it becomes WAY less intimidating. So let’s break this down step by step, no fluff, just the real deal. ## **First Things First: The Pre-Lodgment Meeting** Before you even think about submitting anything, book a pre-lodgment meeting with your local council. Seriously. I cannot stress this enough. Why? Because you’ll find out: – What specific requirements they have (trust me, every council is different) – Any potential red flags with your project – Which consultant reports you’ll actually need – If your neighbors are gonna be a problem This meeting alone can save you thousands. And weeks of headaches. ## **Step 1: Get Your Design Right** Your architectural plans need to be spot on. Not “pretty good” – I mean detailed, accurate, and compliant. This includes: – **Site plans** showing setbacks, landscaping, driveways – **Floor plans** for every level – **Elevations** from all angles – **Shadow diagrams** (especially if you’re building near neighbors) – **3D renders** – councils love these now Don’t skimp here. Bad drawings = delays = money down the drain. ## **Step 2: The Consultant Report Marathon** Oh boy. This is where it gets… interesting. Depending on your project, you might need: – **Survey report** (you definitely need this one) – **Arborist report** if there’s trees involved – **Traffic report** for bigger developments – **Acoustic report** near main roads – **Heritage report** if you’re in one of those areas – **Stormwater management plan** – **BASIX certificate** for energy compliance Each report can take 2-4 weeks. Plan accordingly. ## **Step 3: The Statement of Environmental Effects (SEE)** This is basically your project’s story. You’re explaining why your development is awesome and won’t mess up the neighborhood. It needs to cover: – How your project fits the area – Environmental impacts (spoiler: there always are some) – How you’re dealing with those impacts – Why it complies with all the planning controls Pro tip? Get a professional to write this. A good SEE can make or break your application. ## **Step 4: Notify the Neighbors (If Required)** Some projects need neighbor notification. If yours does… The council will: – Put a notice on your property – Send letters to adjoining owners – Give everyone 14-21 days to complain Yes, complain. That’s basically what the notification period is for. My advice? Talk to your neighbors BEFORE this happens. A friendly chat over the fence goes a long way. ## **Step 5: The Actual Submission** Alright, moment of truth. You’ve got all your documents, reports, plans… time to submit. These days it’s usually online through the planning portal. You’ll need: – **Application form** (filled out correctly, please) – **All your plans** in PDF format – **Every consultant report** – **Your SEE** – **Owner’s consent** if you’re not the owner – **The fee** (yeah, it’s not cheap) Double-check everything. Triple-check. Missing one document can delay things by weeks. ## **Step 6: The Waiting Game** Once submitted, councils have 40 days to assess. But let’s be real – it often takes longer. During this time: – They might ask for more information – Referrals go to other departments – Someone will probably visit the site – Objections get considered Stay on top of it. Call every couple weeks. Be the squeaky wheel. ## **Step 7: The Decision** Finally! You’ll get one of three outcomes: **Approved** – Pop the champagne! But read those conditions carefully. **Deferred** – They want changes. This isn’t the end of the world. Work with them. **Refused** – Ouch. But you can appeal or modify and resubmit. ## **The Reality Check** Here’s what nobody tells you: the whole process usually takes 3-6 months. Sometimes longer for complex projects. And the costs? Between consultant reports, council fees, and professional help… budget at least $15,000-$30,000 for a typical residential DA. More for bigger projects. ## **My Final Advice** Get help. Seriously. Whether it’s a town planner, architect, or building designer who knows your local council inside out – having someone who’s done this before is worth every penny. They know: – What councils actually care about – Which battles to fight – How to word things properly – Who to call when things get stuck Look, I get it. The DA process feels overwhelming. All these steps, all these requirements… it’s a lot. But thousands of people get approvals every year. If they can do it, so can you. Just take it one step at a time, get the right team around you, and keep pushing forward. Your dream project is on the other side of this paperwork mountain. Time to start climbing.